Hello Friends, Today I am going to show you how to create a WordPress Plugin from scratch. You need to follow the step-to-step instructions which I am going to explain below. The Plugin which I am going to discuss below will add my facebook profile link on bottom of every page and post.
Step 1: Create Folder in WordPress Plugin Folder
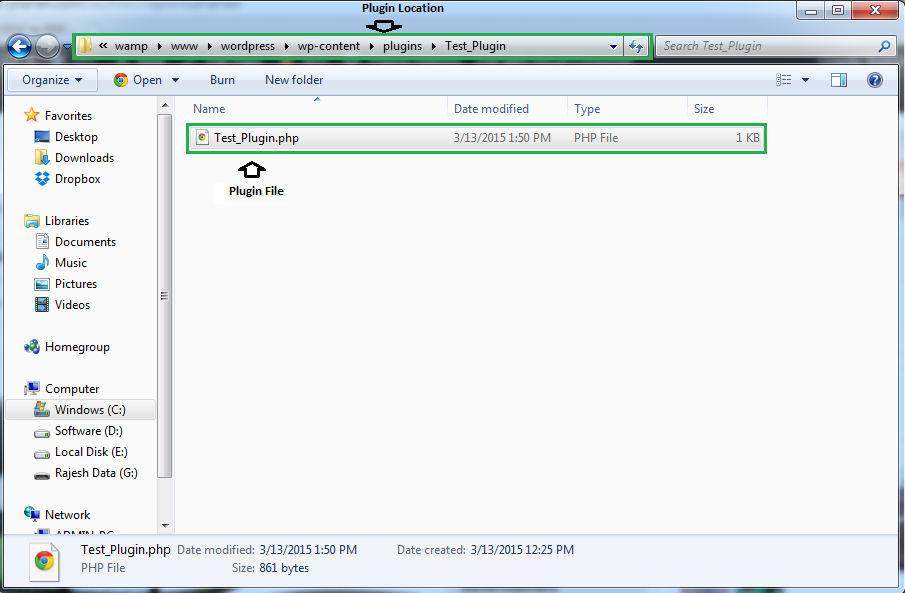
First you need to create a folder in WordPress Plugin Folder which you can find at “YOUR_WORDPRESS_INSTALLATION\wp-content\plugins”. And name of your plugin folder should be unique and name it as your plugin name, in my case it is Test_Plugin.
Step 2: Create Plugin File in Your Plugin Folder
Second is to create a plugin file in your plugin directory. Plugin file name could be PLUGIN_NAME.php , in my it is Test_Plugin.php.
Note: Advance plugin can contain more than one files.
Step 3: Start Coding
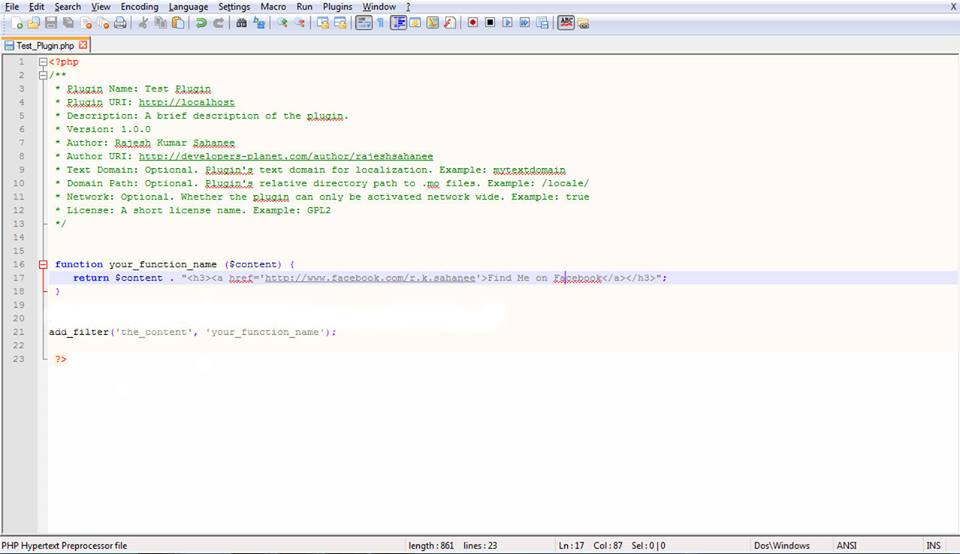
Now we will code the plugin, First thing to develop any wordpress plugin is to define its name, description, version etc. which we define before starting our plugin logic code and it should be defined in comment. like this…
|
1 2 3 4 5 6 7 8 9 10 11 12 13 |
<?php /** * Plugin Name: Test Plugin * Plugin URI: http://localhost * Description: A brief description of the plugin. * Version: 1.0.0 * Author: Rajesh Kumar Sahanee * Author URI: https://zatackcoder.com/author/zatackcoder/ * Text Domain: Optional. Plugin's text domain for localization. Example: mytextdomain * Domain Path: Optional. Plugin's relative directory path to .mo files. Example: /locale/ * Network: Optional. Whether the plugin can only be activated network wide. Example: true * License: A short license name. Example: GPL2 */ |
Step 4: Plugin logic code
Now we will code plugin logic
|
1 2 3 4 5 |
function your_function_name ($content) return $content . "<h3><a href='http://www.facebook.com/r.k.sahanee'>Find Me on Facebook</a></h3>"; add_filter('the_content', 'your_function_name'); |
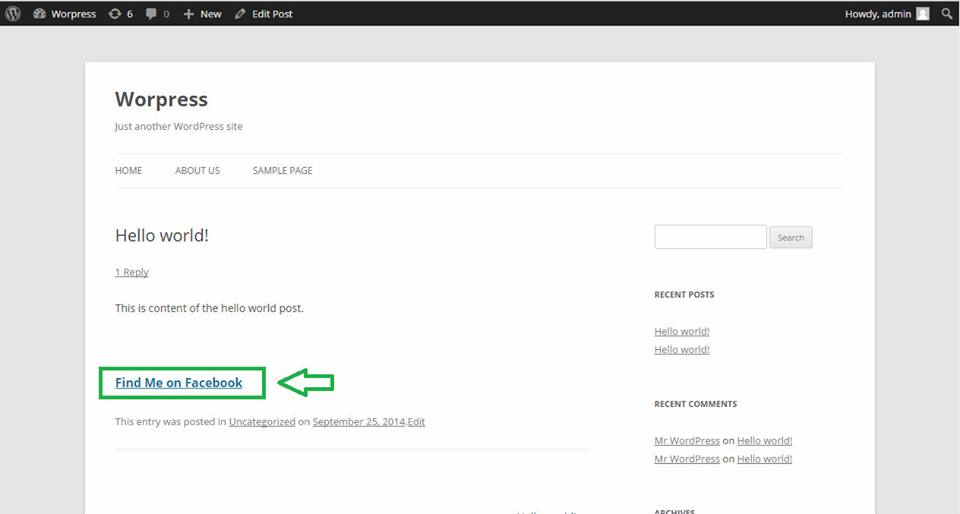
This code will executed every time the content of the page or post is being shown and your_function_name function gets called and this will add my facebook profile url to the end of every post or page.
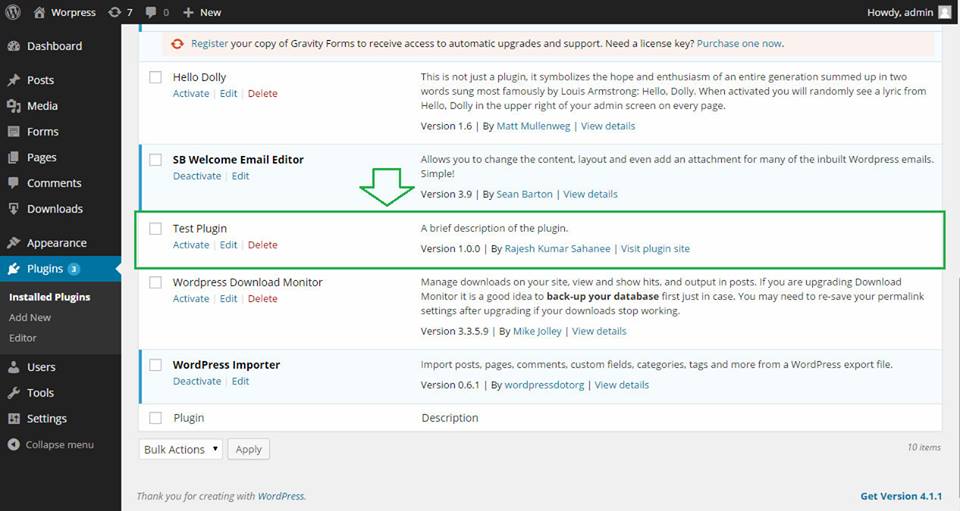
Step 5: Now activate your plugin
Now activate your plugin and see the result on any page or post.
Output
Thanks
Please share if you like it.

Comments